


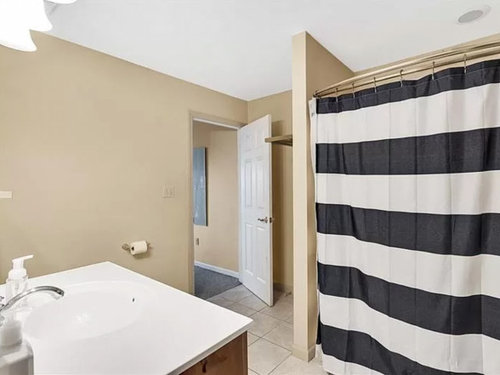
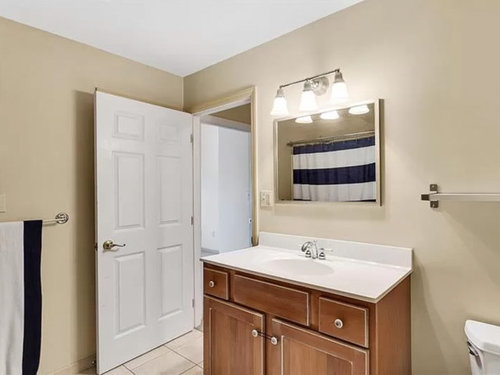
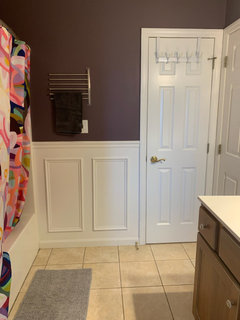
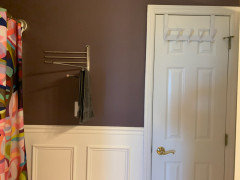
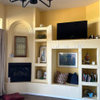
DIY Wainscot project before&after
Amy
last year


Featured Answer
Sort by:Oldest
Comments (26)
Related Professionals
Ballenger Creek Kitchen & Bathroom Designers · Ocala Kitchen & Bathroom Designers · White House Kitchen & Bathroom Designers · Williamstown Kitchen & Bathroom Designers · Brentwood Kitchen & Bathroom Remodelers · Green Bay Kitchen & Bathroom Remodelers · Lincoln Kitchen & Bathroom Remodelers · Red Bank Kitchen & Bathroom Remodelers · Sicklerville Kitchen & Bathroom Remodelers · Greeley Glass & Shower Door Dealers · East Saint Louis Cabinets & Cabinetry · Fort Lauderdale Cabinets & Cabinetry · Harrison Cabinets & Cabinetry · Wheat Ridge Cabinets & Cabinetry · Colorado Springs Window Treatments
Amy
last yearlast modified: last yearAmy
last yearlast modified: last year
Jamie T. Miller
last yearK Laurence
last year


Related Stories
BATHROOM DESIGNBefore and After: 9 Small-Bathroom Makeovers That Wow
Ready to remodel? Get inspired by these bathroom projects that come in at less than 60 square feet
Full Story
BATHROOM MAKEOVERSBefore and After: A Bigger Bath for a Family’s Tudor-Style Home
A claw-foot tub, custom wainscoting and traditional fixtures and finishes add up to a timeless room
Full Story
CRAFTSDIY Project: Vintage Suitcase Dog Bed
Save Your Own Furniture With a Comfy Dog Bed You Can Make This Weekend
Full Story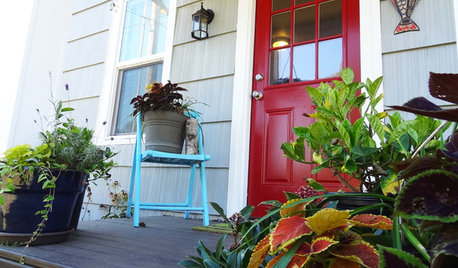
CURB APPEALDIY Painting Project: A Colorful Front Door
Give your entrance a notice-me new hue to make it inviting and energizing for fall
Full Story
BEFORE AND AFTERSBefore and After: 19 Dramatic Bathroom Makeovers
See what's possible with these examples of bathroom remodels that wow
Full Story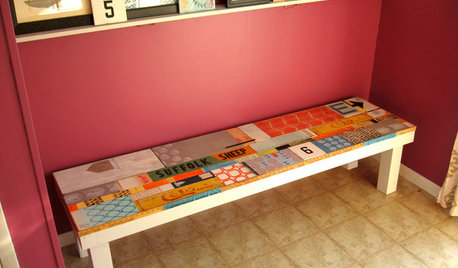
WOODWORKINGDIY Project: Artful Scrap-Wood Bench
Salvage signs, block-printed wood and a secret compartment turn a handmade bench into an interactive work of art
Full Story
REMODELING GUIDESWhat to Know Before Starting a Bathroom Project
A design pro answers the question ‘What 3 things do you wish every client understood?’
Full Story
CRAFTSDIY Project: Home Improvement Store Pop Art
Turn Drywall Mud and Paint Into a Minimalist Conversation Piece
Full Story
MOST POPULARBefore and After: 13 Dramatic Kitchen Transformations
See the wide range of ways in which homeowners are renovating their kitchens
Full Story


Nicetown Curtains